Buying Guides
How to measure your windows for blinds
Grace Mendoza · 5 min read
Almost every blind that arrives the wrong size comes from one of three mistakes: measuring in inches and converting badly, measuring the old blind instead of the window, or assuming a window is square when it is not. None of them take skill to avoid. They take a sequence.
Get the right tape
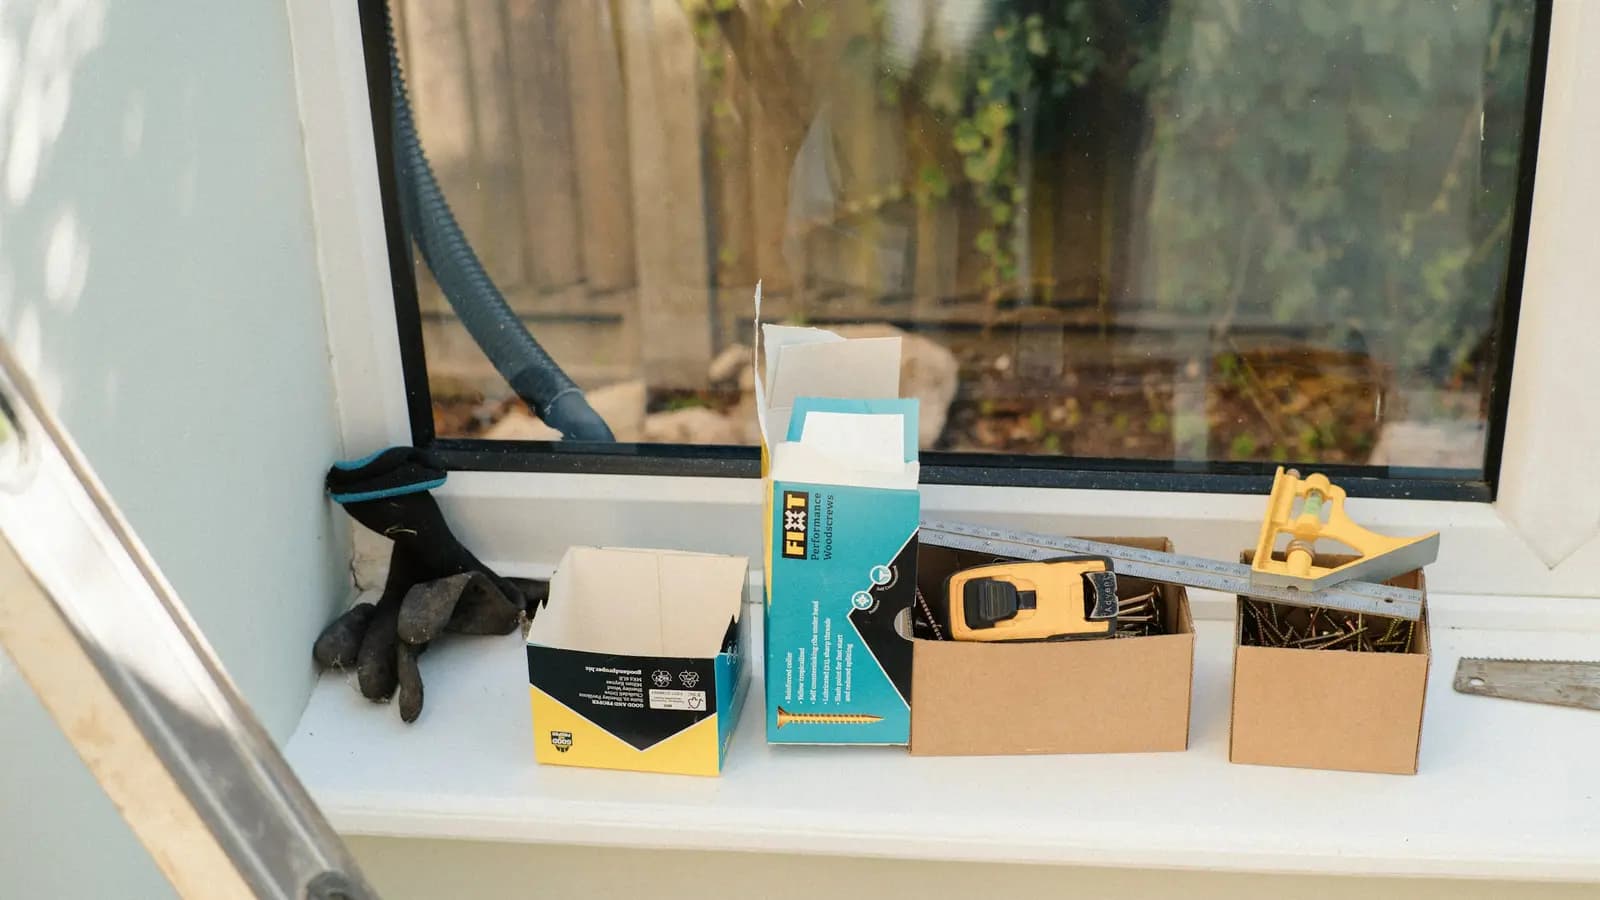
Use a steel tape and work in millimetres. A cloth or plastic dressmaking tape stretches by several millimetres over two metres, which is enough to jam a blind in a reveal. Record every figure as width first, then height, in millimetres, and never round — 1483 mm is a usable number, "about 1.5 m" is not.
Decide the mount type before you measure anything
Everything downstream depends on this, so decide it first.
An inside mount sits within the window reveal. It looks neater, it keeps the sill usable, and it is what we fit in most condominium units. It needs depth: allow 65 mm of reveal for a standard 38 mm roller, 80 mm if you want the roll fully concealed in a cassette, and 55 mm for a 25 mm venetian. Measure that depth from the face of the glass to the front edge of the reveal, and check for anything in the way — window latches, casement handles, an aircon lip, or a mosquito screen frame.
An outside mount fixes to the wall or the frame surface in front of the opening. Choose it when the reveal is too shallow, when the opening is out of square badly enough that an inside mount would show a wedge of light, or when you want the window to look larger. It also blocks light better, which is why blackout blinds in bedrooms are usually mounted outside.
Inside mount: measure three times and take the extremes
Reveals are rarely parallel, especially in older concrete construction and in plastered openings.
- Measure the width at the top, the middle and the bottom of the opening. Write all three down. The narrowest is your width.
- Measure the height at the left, the centre and the right. The tallest is your height, so the blind covers the whole opening.
- Measure both diagonals. If they differ by more than 5 mm the opening is out of square, and you should tell us — we can shape the bottom rail or recommend an outside mount instead.
Now the deduction. Give us the exact opening size and we apply the deduction, because it differs by product: we take 5 mm off each side for a roller so the fabric never rubs the plaster, 3 mm each side for a venetian headrail, and nothing at all for a blind that runs in side channels, where the channel itself needs the clearance. If a supplier asks you for the finished blind size rather than the opening, deduct 10 mm from the narrowest width and keep the tallest height — and put in writing which of you did the deducting, because doing it twice is the classic 20 mm gap down both sides.
Outside mount: add overlap deliberately
Start from the opening, then add. We normally add 75 mm each side and 100 mm above the opening, which gives the brackets solid wall to fix into and stops light escaping round the edges. For the drop, decide where the blind should finish: 20 mm below the sill for a neat line, or take it to the floor for a full-height window. If a light switch, a socket or a curtain track is inside that overlap zone, measure to it and tell us — moving the blind 40 mm across is free before production and impossible after.
Record the things that are not dimensions
The sizes are half the order. Also note, per window: which side you want the chain or wand (usually the side away from the door, and away from a cot), whether the blind is mounted inside or outside, what the wall is made of at bracket height (concrete, hollow block, gypsum board, or aluminium frame), and what the window does — casement windows that swing inward will hit an inside-mounted blind, and sliding windows will not.
Wide windows, sliding doors and bays
Past about 3000 mm a single roller tube deflects and the fabric drifts, so a wide window is better as two or three blinds on a shared headrail — measure the total opening and let us split it. For a sliding door, measure the full opening and tell us which way the door slides so the stack sits clear of the leading edge. A bay window is measured as separate facets, never as one blind: give us each facet width, the drop at each facet, and the internal angle at each corner if you can, or send a photograph taken square-on with a tape held across the sill.
Send photos with your measurements
One photo per window, taken square-on from about two metres back with the window fully visible, plus a close-up of the reveal edge showing the depth. Between the numbers and the photos we can usually catch an error before anything is cut. And if the window is above stair level, an odd shape, or the job is more than about eight openings, book the free site measure instead — a remake costs everyone more than a visit.